Recording and Mixing
This segment of the website will showcase the details and process correlating to the Recording and mixing aspect of the Artefact.
Beginning the Recording Process
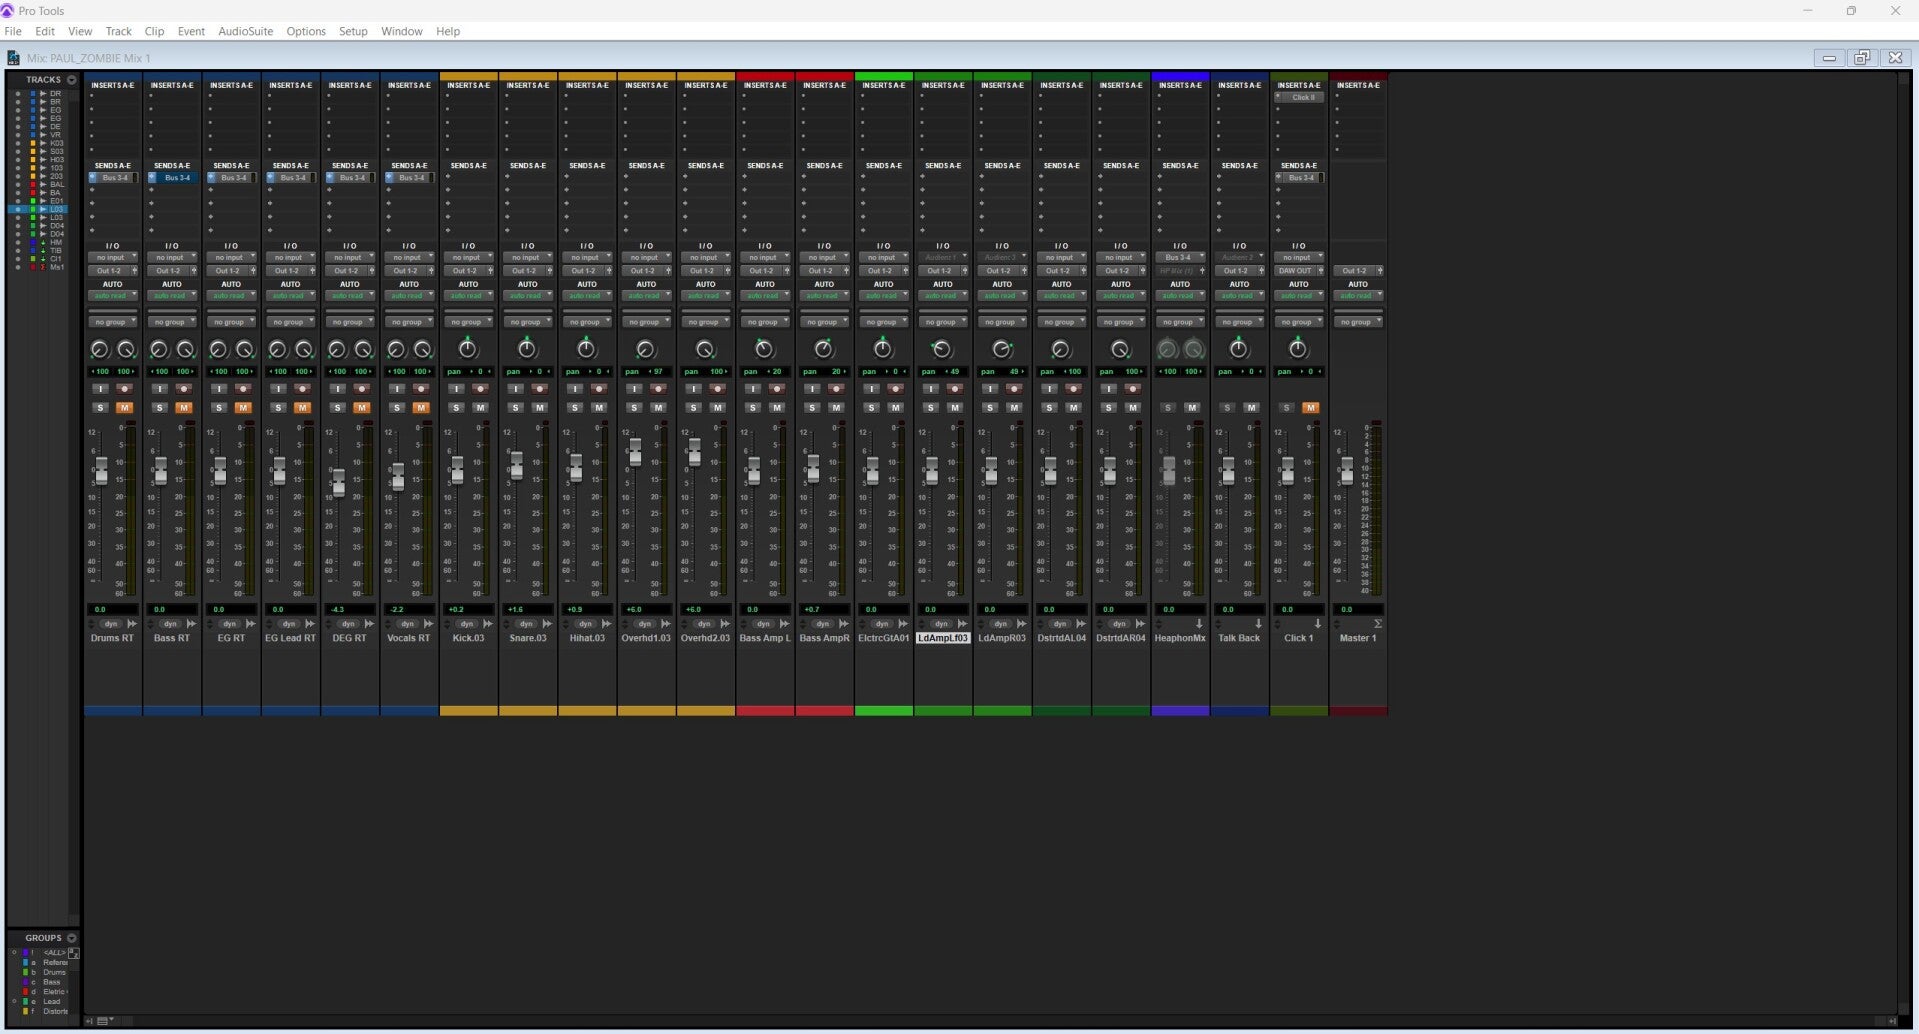
Starting off I created a Pro tools session and gathered all the required equipment for the recording, I used studio two's starter template and I grouped and renamed each track correlating to what they were. We first started recording the drums and I set up six tracks in ProTools going from the kick drum, overheads, snare, hi-hat and talkback microphone for accessibility with the room and the musician. For the overheads I used a matched pair of AKG C414's as I think these capture the drum kit overall stereo image relatively well and for the rest of the drum kit I used the Audix FP7 microphone set and used multi mic closed microphone recording technique with spaced pair of overheads for drums. Me and my colleague who I was co-producing for picked studio two due to time restraints and and the studio 2 having a much better availability schedule. For recording bass guitar I recorded using DI and a miked amplifier using the Audix D6 (The same microphone as my kick used on my kick drum). The DI provided clear low ends, whilst the D6 captures the warmth and punch of the Amplifier. Blending the two signals together allowed for a fuller and more defined bass tone which is common for the Indie rock genre. For recording each section of the guitars I used a matched pair of SM57 microphone tilted at a 45 degree angle pointing towards the middle centre of the cone for recording grit and to capture more of the low end frequencies. Overall I think this artefacts shows my proficiency and knowledge as a studio engineer and that I'm capable of setting up and creating a sonically sound product.
Electric Guitar (Rhythm, Lead and Distortion)
For the Lead and Rhythm sections I double tracked of each segment and hard panned left and right adding width and space giving the overall mix a denser, more impactful sound. I recorded the rhythm and lead guitars audio using 2 SM57 microphone one angled towards the centre of the amps cone slightly of axis and one microphone on axis, this helped me capture a focused sounding tone whilst also keeping the brightness of the guitars sound. For the Distortion guitar had the same recording configuration however I moved the microphone towards the edge of the speaker for a darker sounding recording and moved the microphone directly onto the speakers skin.

Bass Guitar
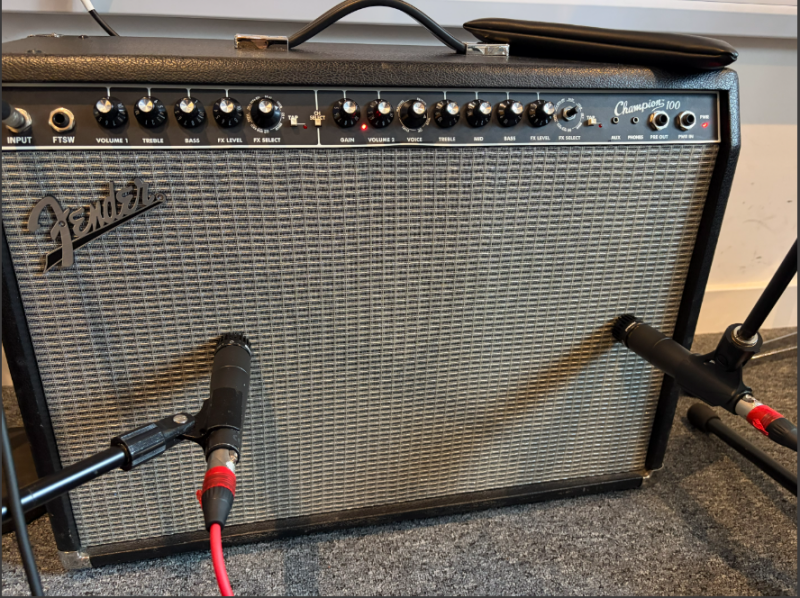
For recording the Bass Guitar, I used an Audix D6 positioned toward the towards the middle segment of the amp’s speaker cone to capture brighter higher end tonalities, paired with a DI signal through a splitter box. I felt we should record both sources to capture all the low end frequencies that the bass produces via only recording the DI I thought It would take some character and tone out of the bass so, the DI delivered a clean, solid low end, while the D6 with the microphones low end frequency response captured the warmth and punch, and character of the amplifier, nuances which don't show in a DI only configuration. We also setup a talkback microphone using an SM58 for easiness between talking to the performer and the console room.


Drum Kit
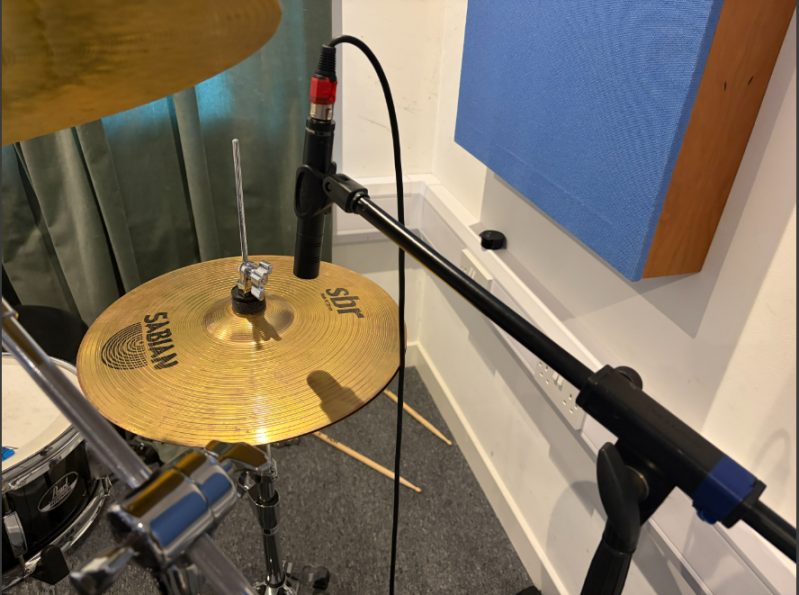
For recording the drum kit I started off by setting up the Overhead microphones which are a matched pair of AKG C414's and making sure they were in equal distance to the the snare in order to capture a good natural sounding stereo image and maintain phase coherence between the two microphones, I used an Audix D6 on the kick because it delivers deep low ends, clear attack, and can handle the kick due to the D6's high mSPL drum’s high volume without distorting, giving me a mix‑ready kick sound straight from the source. For recording the Hi-Hat I used a Audix ADX51 apart of the AP7 Microphone kit because of it's quick response to sharp hits and it's detailed top end make it ideal for capturing each cymbal hit. Its cardioid polar pattern reduces bleed from the rest of the recording, and its high SPL handling ensures a clean distortion free recording even positioned close range. For capturing the snare in my drum kit recording I used an Audix I5 which is also included within the AP7 kit, I used the i5 on snare because it delivers a punchy, high‑SPL‑ready snare sound with strong attack and minimal cymbal bleed, making it easier for me to mix later on.


The Mixing Process:
Electric Guitar (Rhythm, Lead and Distortion)
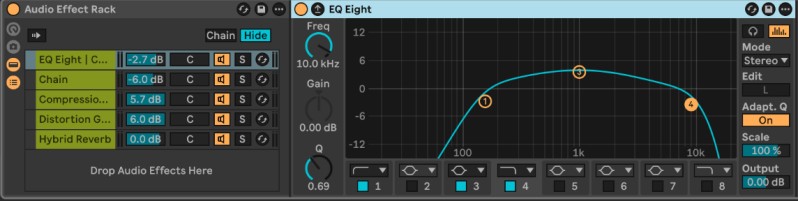
For mixing the rhythm section of the guitars, I was inspired by the original mix of zombies however the rhythm section and the song originally used a metal string acoustic guitar so I wanted to emulate that sound to some degree so I used chorus and delay with a vintage sounding compressor for warmth and to make it sound more metallic, I also double tracked my guitars for the distortion section and I applied a small amount of reverb and a distortion gate a compressor and EQ to boost the Mids for the left side of the distorted guitar mix, for the right hand I mainly the same mix however I added a Softubes craft overdrive pedal to really cement that distorted sound. For my lead Guitar I used Abletons Saturation to enhance sustain and add harmonic richness, I used Compression as well to keep the riff stable and prevalent in the song. Reverb to give the melody a sense of space and emotional lift This chain allowed the lead to soar above the dense rhythm bed while still feeling integrated into the overall mix.
Rhythm Guitar

Lead Guitar


Distorted Guitar
Bass Guitar
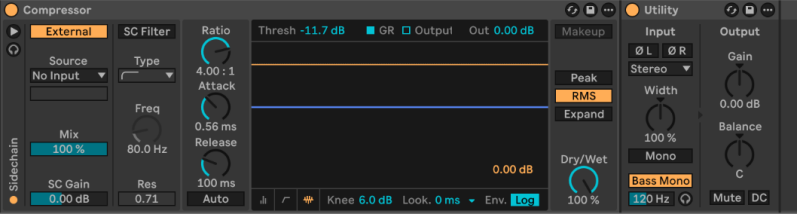
For mixing my bass guitar I had them double tracked and I made two separate slightly different mixes I wanted to emphasise the low and mid frequencies to give the bass more presence and bite in the mix, I also added vibrato to each of the bases to make them sound Fuller and add thickness to each note I applied I kept the rate and amount quite low as I wanted it to be subtle and not cloud the mix.


Create Your Own Website With Webador